浮気 調査 するべきか
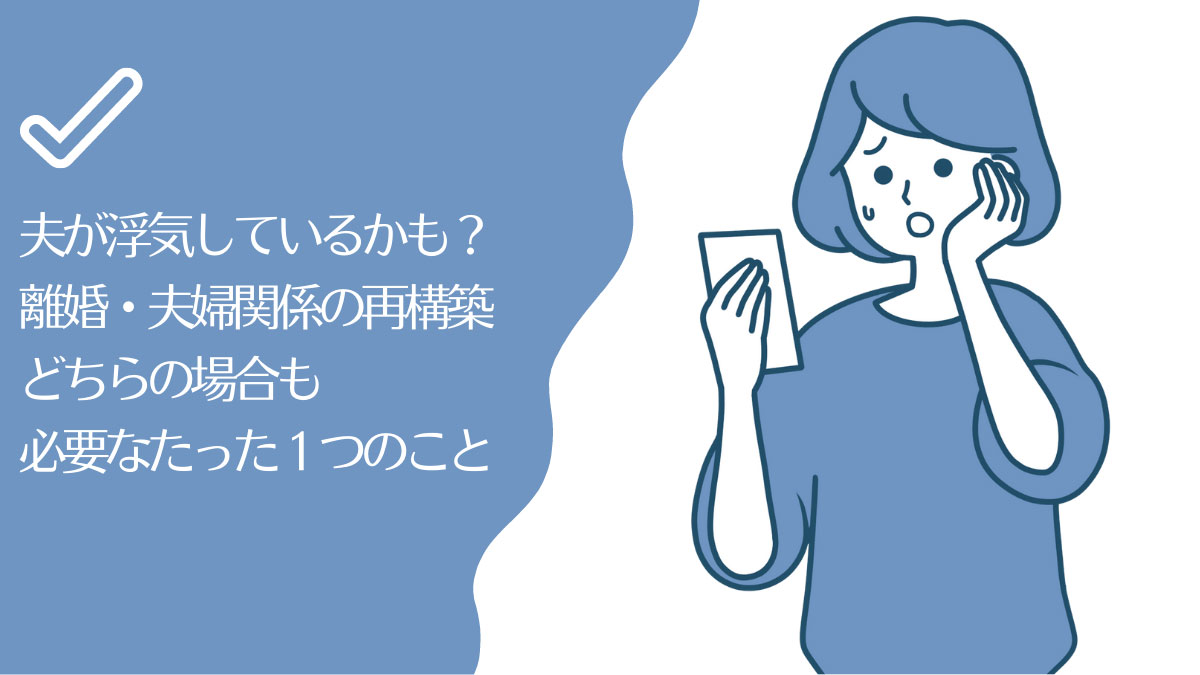
夫が浮気してるかも?問い詰める前にするべきこと
夫が浮気をしているようだと気付いても、いきなり話し合いをして問い詰めたりしてはいけません。
離婚するにしても修復するにしても、話し合いをする前に確実な浮気の証拠を集めることが重要です。
確実な証拠もなく浮気を問い詰めたとしても、はぐらかされたり誤魔化されてしまいます。ひどい場合には逆ギレされて、離婚すると言われてしまうことも。
証拠があれば離婚して慰謝料を取ることもできますし、浮気相手と別れさせて夫婦関係を修復することも可能です。
浮気相手と別れさせるときには、相手に「慰謝料を払う」かそれとも「別れて2度と浮気しないと誓う」かを選択させると、多くの場合に別れる方を選びます。
私の場合もこれで浮気相手と別れさせて夫とやり直すことができました。
もし離婚する場合でも確実な証拠があれば慰謝料を請求したり、慰謝料を増額することができます。
そのため話し合いをする前にまずは浮気の証拠を用意しておくことが大切なのです。
確実な浮気の証拠とは?
例えば、以下の様なものは確実な証拠とは言えません。
- 浮気相手とのLINEやメール
- ホテルの領収書
- 浮気相手と歩いている写真
LINEやメールの場合は、「知人と悪ふざけのLINEをしていた」、「スパムメールにいたずらで返答した」などと誤魔化されて終わりです。
ホテルの領収書は、「1人で宿泊した」と言われ、浮気相手と二人で歩いている写真も「仕事関係や知人と歩いていただけ」と言われるとそこまでです。
では確実な証拠とはどういったものでしょうか?
裁判などで最も決定的な証拠となるのは、浮気相手とホテルの部屋に二人で入っていく現場の写真と、出てくる現場の写真です。ホテル以外に相手の家や自分の家でも同じように証拠と認められます。
そのような写真を撮るには、自分では不可能に近いです。そのため、決定的な現場写真を撮るには、浮気調査に強い探偵事務所へ依頼します。
そして、浮気調査に強いと言われているのがこちらの探偵事務所です。 業界内でも浮気調査に強いと評判で、証拠写真撮影のために弁護士から紹介されることも多く有名です。
\非通知の電話・匿名メールで無料相談/ 原一探偵事務所の浮気調査はこちら
突然ですが、パートナーの行動が不自然で悩んでいませんか?
- スマホの画面があなたに見えないようにしているので、何か隠しているような気がする
- 家の中ではテーブルの上にスマホを置いていたのに、いつも持ち歩くようになった
- スキンシップを嫌がるようになった
- 不自然に機嫌の良いときが増えた
- LINEの着信を隠すようになった
このような不自然な行動は浮気の兆候かもしれません。
誰にも相談せず一人で悩んでいると、そのことが頭から離れなくなり仕事も手につかなくなることもあります。
一人で悩んでいるだけで、そのまま放置してしまうと取り返しのつかないことに
- 浮気をしているかもと疑ったままだと、夫に対して怒ったり暴力的になり、逆に離婚を切り出され慰謝料を請求されるかもしれない
- 浮気していることを確認できないと、いつまでも浮気が続くことになるかもしれない
- 確かな証拠もないのに浮気をしているか問い詰めてもシラを切られて終わってしまう
- 浮気の証拠を抑えようとして自分で尾行したり盗聴器をしかけたのがバレると逆に不利な立場に追い込まれてしまう
- 実際に浮気をしていて離婚になったとしても、しっかりとした証拠を収めないと離婚の際に慰謝料や子供の親権を取れないことがある
もし旦那さんが浮気をしていたとしたら、そのままにしておくと浮気が続くことになり、あなたの心配も無くなることはありません。
それに離婚の準備を進められて、あなたの方が捨てられてしまうなんてことになったら目も当てられません。
浮気の証拠を集めることで有利な立場に
夫が浮気しているという確かな証拠があると、離婚や修復などにおいて圧倒的に有利な立場となります。
例えば・・・
- しっかりとした証拠があれば離婚しても慰謝料や子供の親権をとることができ、次の人生に進むことができる
- 証拠をそろえることで不倫相手と別れさせたり、相手に慰謝料を請求することも可能となる
- 探偵に無料相談したら浮気の可能性は低いと言われたので、気持ちが楽になったし、調査していないので料金もかからなかった
- 浮気を問い詰めたら相手男性が訴えると言ってきたので、調査資料と証拠を見せたところ全て認めて謝ってきた。
- 浮気していたことが分かり離婚することになったが、慰謝料をとることができた。気持ちがスッキリして新しい生活に前向きになれそう。
浮気の証拠を集めるには、浮気調査に強い探偵事務所に依頼するのが良いです。
離婚の場合は、裁判で不貞行為の証拠として認められるので、慰謝料を取ったり子供の親権を取ることが可能となります。
また夫婦関係を修復したいときは、不倫相手に証拠を突きつけて「慰謝料を払うか」、「夫と2度と会わないか」を選択させると、多くのケースにおいて2度と会わない方を選びます。
浮気調査を依頼するデメリットはある?
デメリットとしては以下のようなものが考えられます。
- 調査費用が高い
- 浮気していなかった場合、費用だけ払うことになる
- 調査していることがバレることがある
- スキルの低い業者だと浮気の証拠を撮り逃がすことがある
それぞれについて少し見てみましょう。
調査費用が高い
⇒ 浮気していそうな日時を絞って調査することで費用を抑えることが可能です。
例えば、毎週木曜日の夜に帰りが遅いとか、突然「明日急な出張が入ったので1泊してくる」といった場合など、浮気の疑いがあるタイミングで調査することができます。
浮気していなかった場合、費用だけ払うことになる
⇒ 原一探偵事務所では無料相談を行っています。
無料相談で浮気しているかいないか大体のあたりを付けてから調査するか決めることが可能です。
無料相談の時点で、浮気の可能性が低いと判断されることもよくあります。
調査していることがバレることがある
⇒ 浮気調査に多数の実績がある探偵なので安心です。複数人のチームで動き、変装したり、仮装車を使ってバレないように調査します。
スキルの低い業者だと浮気の証拠を撮り逃がすことがある
⇒ 原一探偵事務所は業界でも浮気調査を得意としていることで知られています。テレビ番組の調査にも協力しているほどで、経験豊富な調査員が自社開発の調査機材で証拠を抑えます。
原一探偵事務所の浮気調査のポイント
- 見積り以外の金額を請求されることがないので安心
- 多数の浮気調査の実績があるので、証拠を抑える確率が高い
- 全国対応しているので、出張先で浮気している場合などの調査もできる
- 経験豊富な複数の調査員がチームで動くので、対象に尾行を巻かれてしまうことが少ない
- しっかりと証拠を抑えることで、浮気相手と別れさせたり離婚するなど有利に進めることができる
原一探偵事務所ではいきなり浮気調査をするのではなく、まずは無料相談で状況を聞いてから、浮気かどうか判断した後で調査することになります。無料相談で浮気ではなさそうと判断されることもあり、その場合は費用はかかりません。
無料相談は匿名や非通知ですることができるので、こちらの個人情報が漏れる心配もありません。
原一探偵事務所は全国に18拠点あり、全国対応での調査が可能です。最初はお住まいのエリアに対応した事務所が担当しますが、調査対象が長距離の移動をしたときには、別のエリアに引き継いで調査します。
例えば、最初は東京で尾行していたけど、急に大阪行きの飛行機に乗られた場合には、大阪エリアのチームに引き継いで尾行するといったことができます。
東京から大阪行きの飛行機に乗られたときなどはすぐにチケットが取れないので、このように引き継ぐことができる探偵事務所でないと対応できません。
原一探偵事務所の公式サイトはこちら関連
浮気調査 白だった
夫の浮気調査をした結果、白だった場合は、まずは安心するでしょう。しかし、その一方で、調査をしたことがバレてしまったら、夫との関係が悪化してしまう可能性もあります。
夫にバレずに浮気調査をするためには、探偵事務所に依頼するのが一番です。探偵事務所は、浮気調査のプロなので、バレずに証拠を集めることができます。また、探偵事務所は守秘義務があるので、調査結果を漏洩される心配もありません。
しかし、探偵事務所に依頼するには、費用がかかります。そのため、浮気調査をする前に、費用をきちんと確認しておくことが大切です。また、探偵事務所に依頼する場合は、信頼できる探偵事務所を選ぶようにしましょう。信頼できる探偵事務所は、調査結果を正確に報告してくれますし、調査中にトラブルを起こすこともありません。
浮気調査したことある人
浮気調査をした人は、パートナーに対する不信感や怒りが爆発し、離婚に至るケースが多いです。中には、浮気を許して関係を修復する人もいますが、一旦壊れた信頼関係は元に戻ることは難しく、浮気調査をしたことを後悔する人も少なくありません。
浮気調査をした結果、パートナーの浮気を確信した人は、その後のパートナーの態度や言動に変化が出ることが多く、生活に支障をきたしたり、精神的に苦しんだりすることがあります。
パートナーの浮気を疑っている場合は、まずは冷静に状況を把握し、浮気をしているかどうかを確かめることが大切です。その上で、浮気調査をするかどうかを慎重に判断しましょう。
浮気調査されてるか知る方法
夫の浮気調査をされてるか知る方法はいくつかあります。
1つ目は、スマホの履歴をこまめにチェックすることです。夫のスマホに浮気相手とのやり取りが残っていないか、履歴を消していないかを確認しましょう。
2つ目は、夫の行動の変化に注目することです。普段と違う行動をとっていたり、突然の出張や残業が多くなったりしていないかを確認しましょう。
3つ目は、夫の交友関係をチェックすることです。浮気相手は夫の交友関係の中から見つけられることが多いです。夫の友人や同僚に浮気相手がいないかを確認しましょう。
4つ目は、夫の金銭の流れをチェックすることです。浮気相手にお金を渡したり、浮気相手とのデートで出費が増えていたりしていないかを確認しましょう。
浮気調査 1ヶ月 費用
浮気調査にかかる費用は、調査の内容や期間によって大きく異なります。
また、調査会社によって料金設定も異なるため、事前に複数の調査会社に見積もりを取ることが大切です。
一般的な浮気調査の費用は、1ヶ月で30万円~50万円程度です。
調査内容が複雑であったり、調査期間が長くなったりすると、費用も高くなります。
また、浮気調査の費用には、調査員の交通費や宿泊費、尾行や張り込みにかかる費用も含まれます。
浮気調査を依頼する際には、調査会社と費用について詳しく相談することが大切です。
浮気調査 自分で
浮気調査を自分で行うのは、非常にリスクの高い行為です。探偵に依頼するよりも費用を抑えることができますが、バレてしまった場合、夫との関係が修復不可能になる可能性が高まります。
探偵は浮気調査のプロであり、バレずに証拠を集めることができるよう、綿密な計画を立てて調査を行います。しかし、素人が調査を行う場合、不注意から浮気している相手にバレてしまう可能性が高くなります。
また、浮気調査は法律に触れる行為です。探偵は浮気調査に関する法律を熟知しており、バレずに証拠を集めることができます。しかし、素人が調査を行う場合、法律を違反してしまう可能性が高くなります。